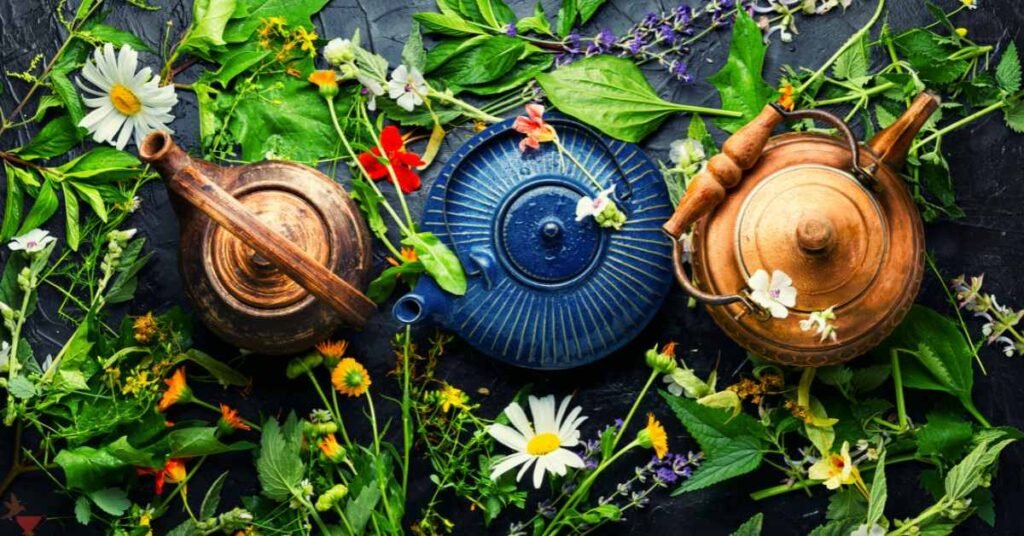
There’s something deeply satisfying about harvesting fresh herbs from your garden or local farm, especially when you know they’ll soon be transformed into delicious teas.
But before you start envisioning the soothing cups of chamomile or invigorating mugs of peppermint, there’s a crucial step: cleaning.
Properly cleaning freshly harvested herbs ensures that your tea not only tastes great but also maintains its potency and health benefits.
Here’s a comprehensive guide on how to clean herbs for tea after harvesting and before drying.

- Harvesting with Care: Before diving into cleaning, ensure that you’ve harvested your herbs with care. Use clean, sharp scissors or pruning shears to avoid bruising or damaging the plants. Harvest in the morning when the essential oils are most concentrated, but after the dew has dried to prevent excess moisture.
- Gentle Shake or Rinse: Once you’ve gathered your herbs, give them a gentle shake to remove any visible dirt or insects. If your herbs are particularly dirty, you can rinse them lightly under cold running water. Be cautious not to bruise or crush the leaves during this process.
- Inspect for Debris and Insects: After the initial shake or rinse, take a closer look at the herbs. Inspect each leaf or stem for any remaining debris, such as soil, small insects, or other foreign particles. Remove any damaged or discolored leaves, as they can affect the quality of your tea.
- Soak in a Bowl of Water: For herbs with tightly packed leaves or those prone to harboring insects (like basil or parsley), soaking them in a bowl of water can be effective. Fill a clean bowl with cold water and gently immerse the herbs, swishing them around to dislodge any hidden dirt or bugs. After a few minutes, lift the herbs out of the water and transfer them to a clean towel to drain excess moisture.
- Pat Dry with Towels: After rinsing or soaking, it’s crucial to remove as much moisture as possible from the herbs. Lay out paper towels on a table and spread the herbs in a single layer. Pat them carefully with another towel, making sure not to crush or bruise the leaves. Excess moisture can lead to mold during the drying process, so thorough drying is essential.
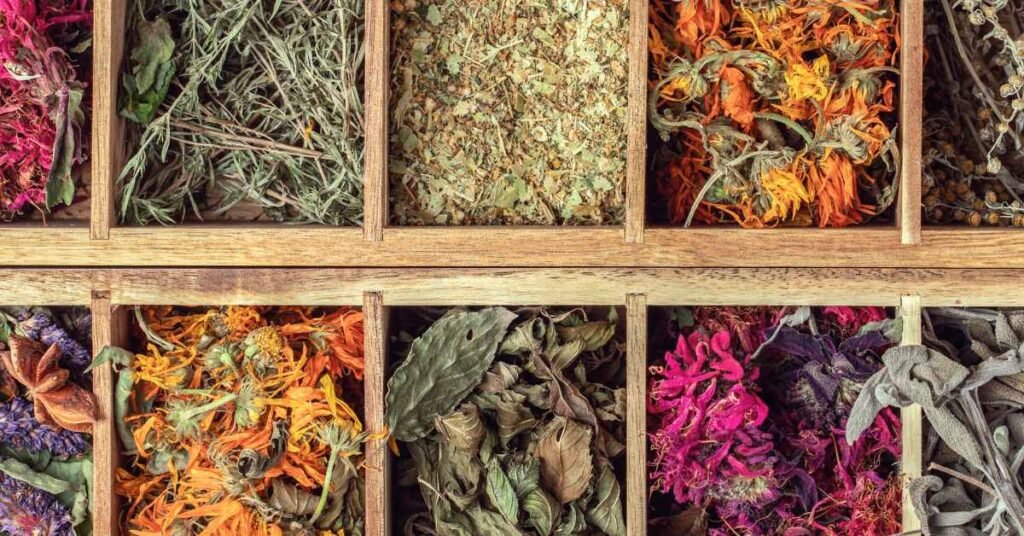
- Air Dry or Use a Salad Spinner: Once you’ve removed excess moisture, you have two options for drying your herbs: air drying or using a salad spinner. Air drying involves spreading the herbs in a single layer on a clean, dry surface away from direct sunlight and humidity. Alternatively, if you’re short on time or dealing with moisture-sensitive herbs, a salad spinner can be a convenient tool to remove excess water before air drying.
- Monitor Drying Process: Regardless of the method you choose, it’s essential to monitor the drying process closely. Check the herbs regularly to ensure they’re drying evenly and aren’t developing any signs of mold or mildew. Depending on the herb and drying conditions, the process can take anywhere from a few days to a couple of weeks.
Final Word
Properly cleaning freshly harvested herbs is a critical step in preserving their flavor, aroma, and health benefits for tea.
By following these steps, you can ensure that your homemade herbal teas are not only delicious but also safe to consume.
So the next time you harvest herbs for tea, take the time to clean them with care—you’ll be rewarded with cups of tea that are as pure and refreshing as the herbs themselves.
MEDICAL DISCLAIMER
Itsnevernotteatime.com cannot and does not contain medical/health advice. The medical/health information is provided for general and educational purposes only and is not a substitute for professional advice.